The bins are out. The kettle’s on. Somewhere outside, a possum is making a surprisingly ambitious decision.
You check the camera. The driveway looked great at lunchtime, but tonight there’s a bright white patch, a dark corner and very little of the thing you wanted to see.
This first part teaches you to read the scene: what your camera can see, where the light comes from and which problem to investigate. Keep a baseline clip before making adjustments.
Using eufy and ready to change settings? Part 2, The Night Lab, connects visual examples to your model’s app controls, light brightness and recording checks.

A lovely live view is only half the job. Check what your camera actually records when someone moves through it.
Give your camera a job.
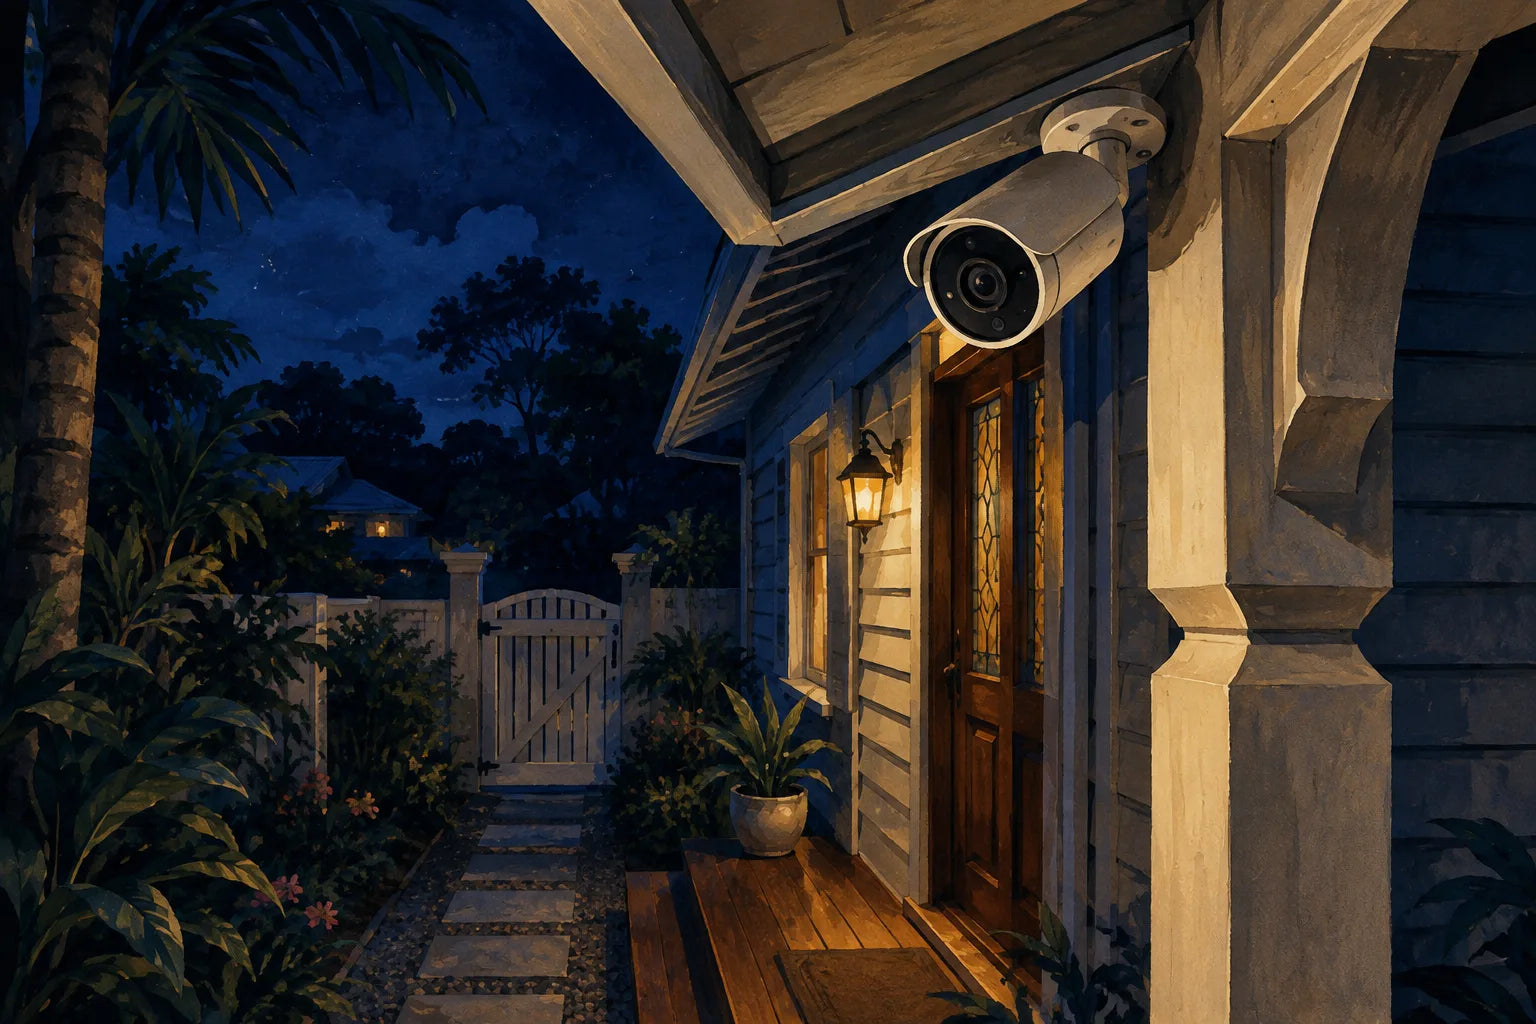
“Watch the front” is a fairly vague brief. Try “show me someone coming through the side gate” or “let me check a parcel at the front door”. A specific job makes it much easier to judge whether the view is useful.
Open the live view and trace that route. Where does a person first appear? Is the important bit hidden behind a post? Are you getting a useful view of the entrance, or mostly an impressive amount of roof?
Follow your model’s mounting instructions for height and angle. Keep the view on your own entry points, and use privacy masks where your camera offers them.
Ask someone to stand at the spot you care about, then look at the live view. Could you describe them to a friend, or could you only confirm that a person-shaped blob exists?
Night vision still needs light.
You may not see it, but the camera does. Many cameras switch on infrared illumination after dark and record a black-and-white picture. Colour night vision needs visible light instead. Depending on the model, that comes from the surroundings, like a porch light or a streetlight, or from the camera’s own spotlight.
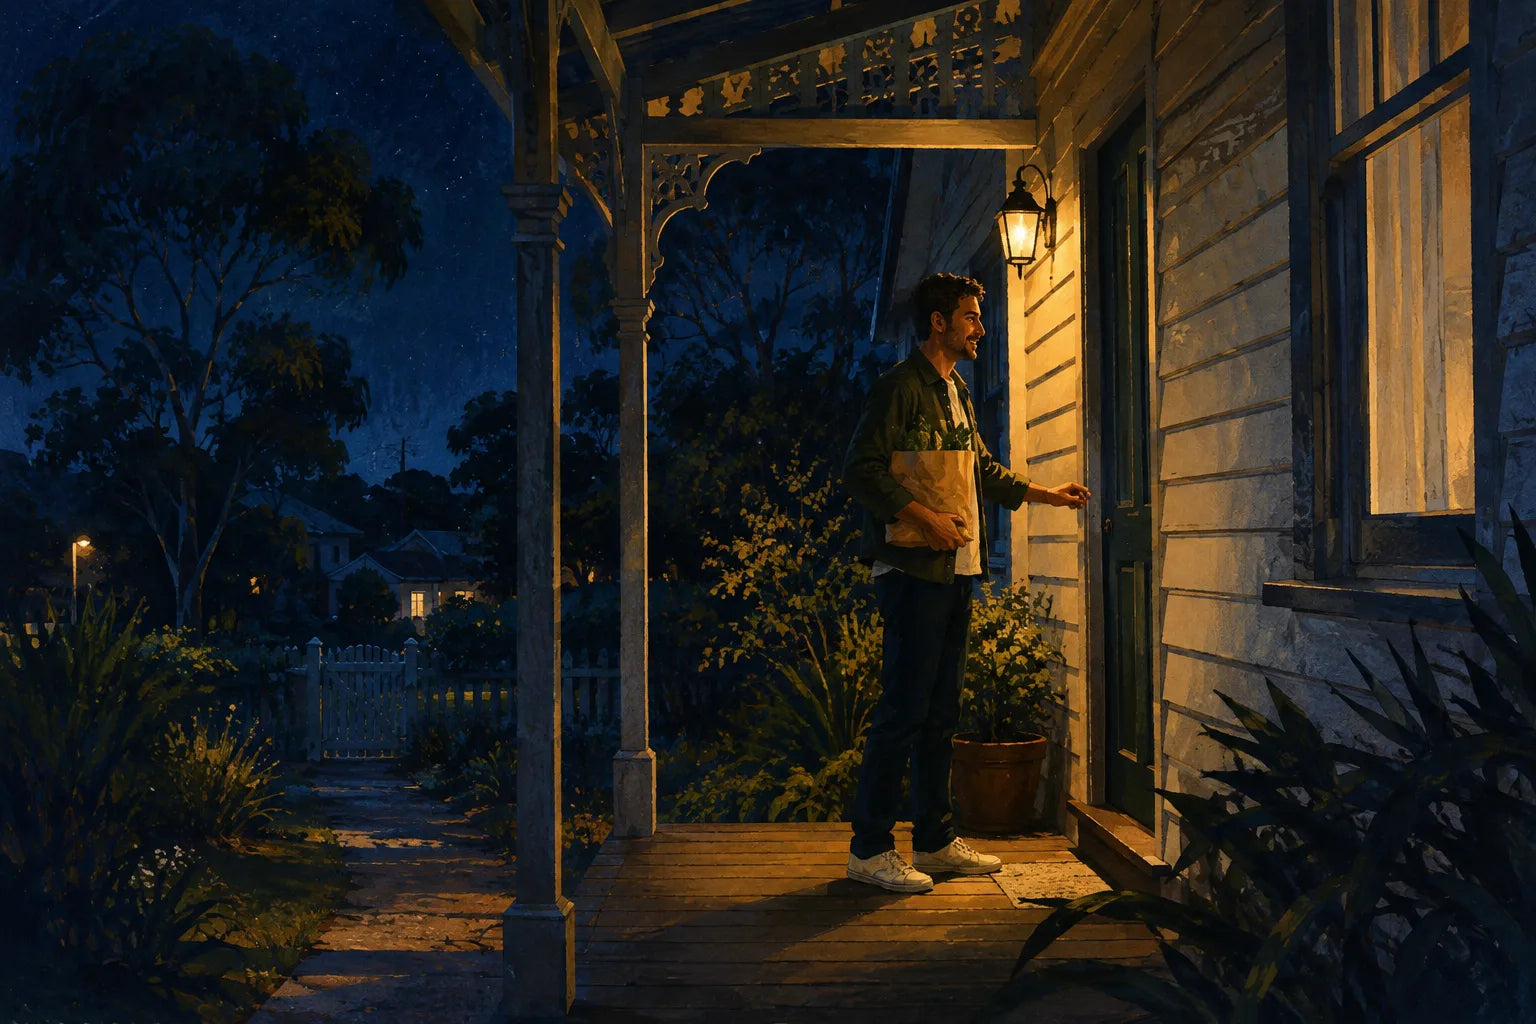
Infrared view
Usually black and white. Judge it on useful shapes and detail rather than colour, because there isn’t any.
Colour view
Needs visible light. Notice whether the subject is lit by the surroundings or by the camera’s own light.
Neither label tells you what the recording will look like in your particular yard. Check the exact model’s manual, then test it in the conditions you actually have.
Read eufy’s night-vision overviewThe window can steal the show.
A camera pointed through glass can look fine by day and fall apart at night. Once its infrared lights switch on, the pane bounces some of that light straight back into the lens. You get a washed-out white patch, or a very clear picture of the camera’s own reflection.
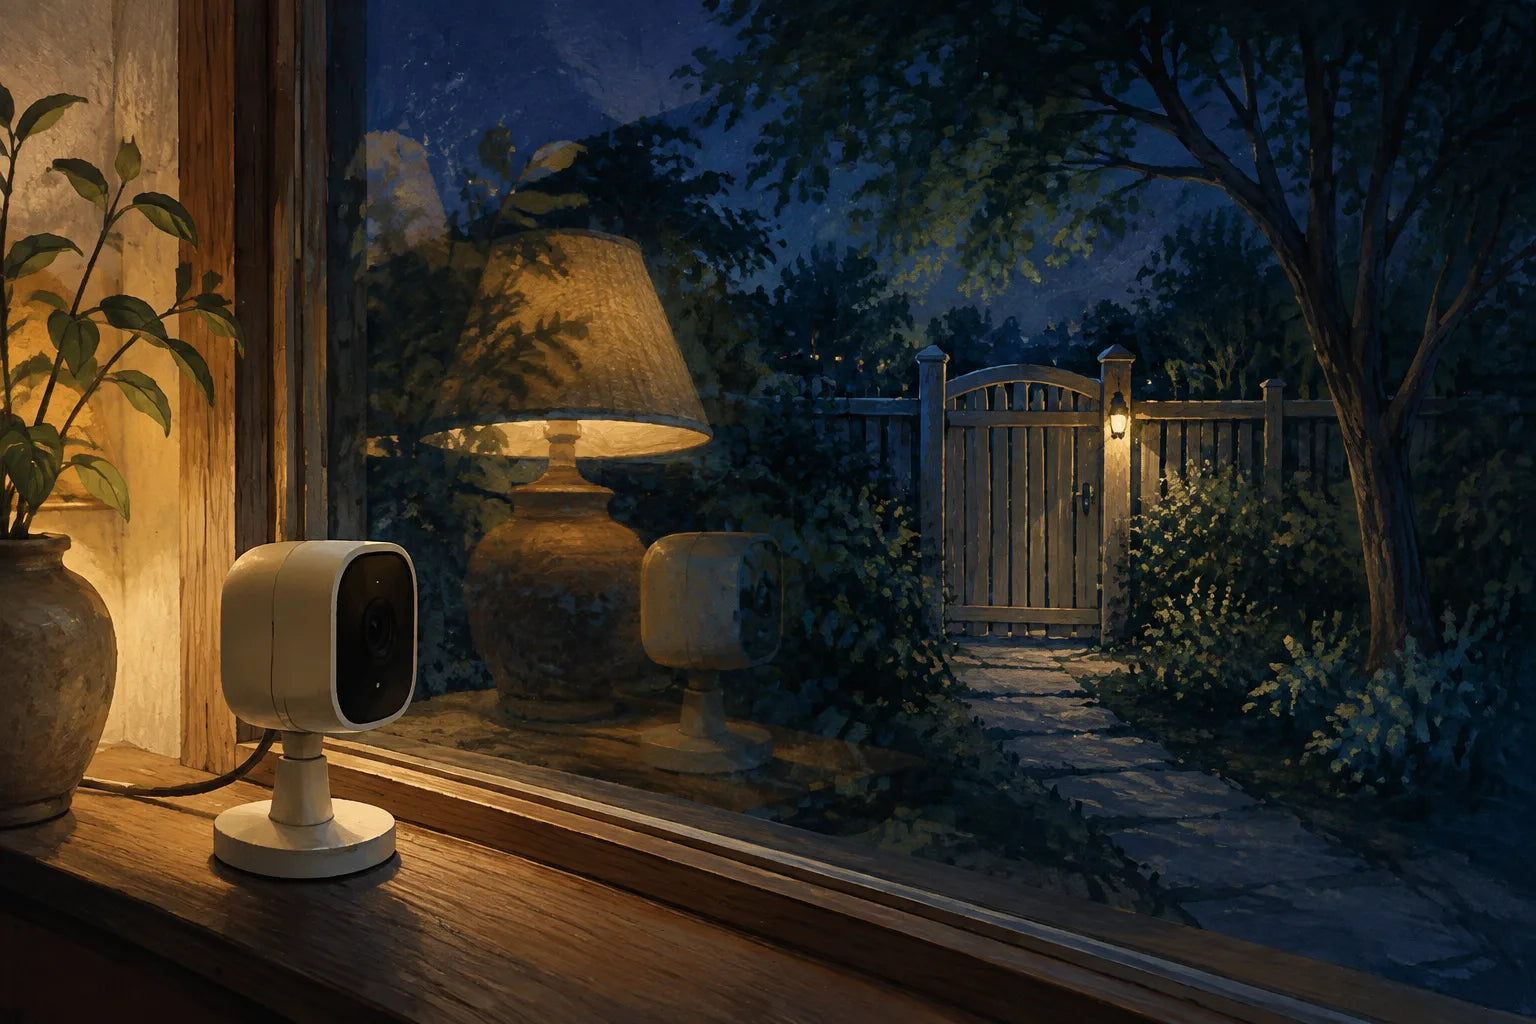
See how infrared light reflects off glass
- A camera indoors, pointing through the glass. After dark its infrared lights switch on.
- Some of that light bounces off the pane and back into the lens: a bright patch, or the camera’s own reflection.
- Glare can hide outdoor detail even when the live view still works.
Detection is a separate problem. Glass can also block the heat changes that PIR motion sensors rely on, so a good-looking live picture does not prove that anyone walking past will trigger a recording.
Great view of the window.
Less great view of the world.
For an outdoor job, look at an outdoor-rated camera installed the way its manufacturer recommends. If you’re testing an indoor camera through a window, treat the results as a compromise and test both the picture and the alerts.
Why glass affects the picture and detectionYour hedge doesn’t need a fan club.
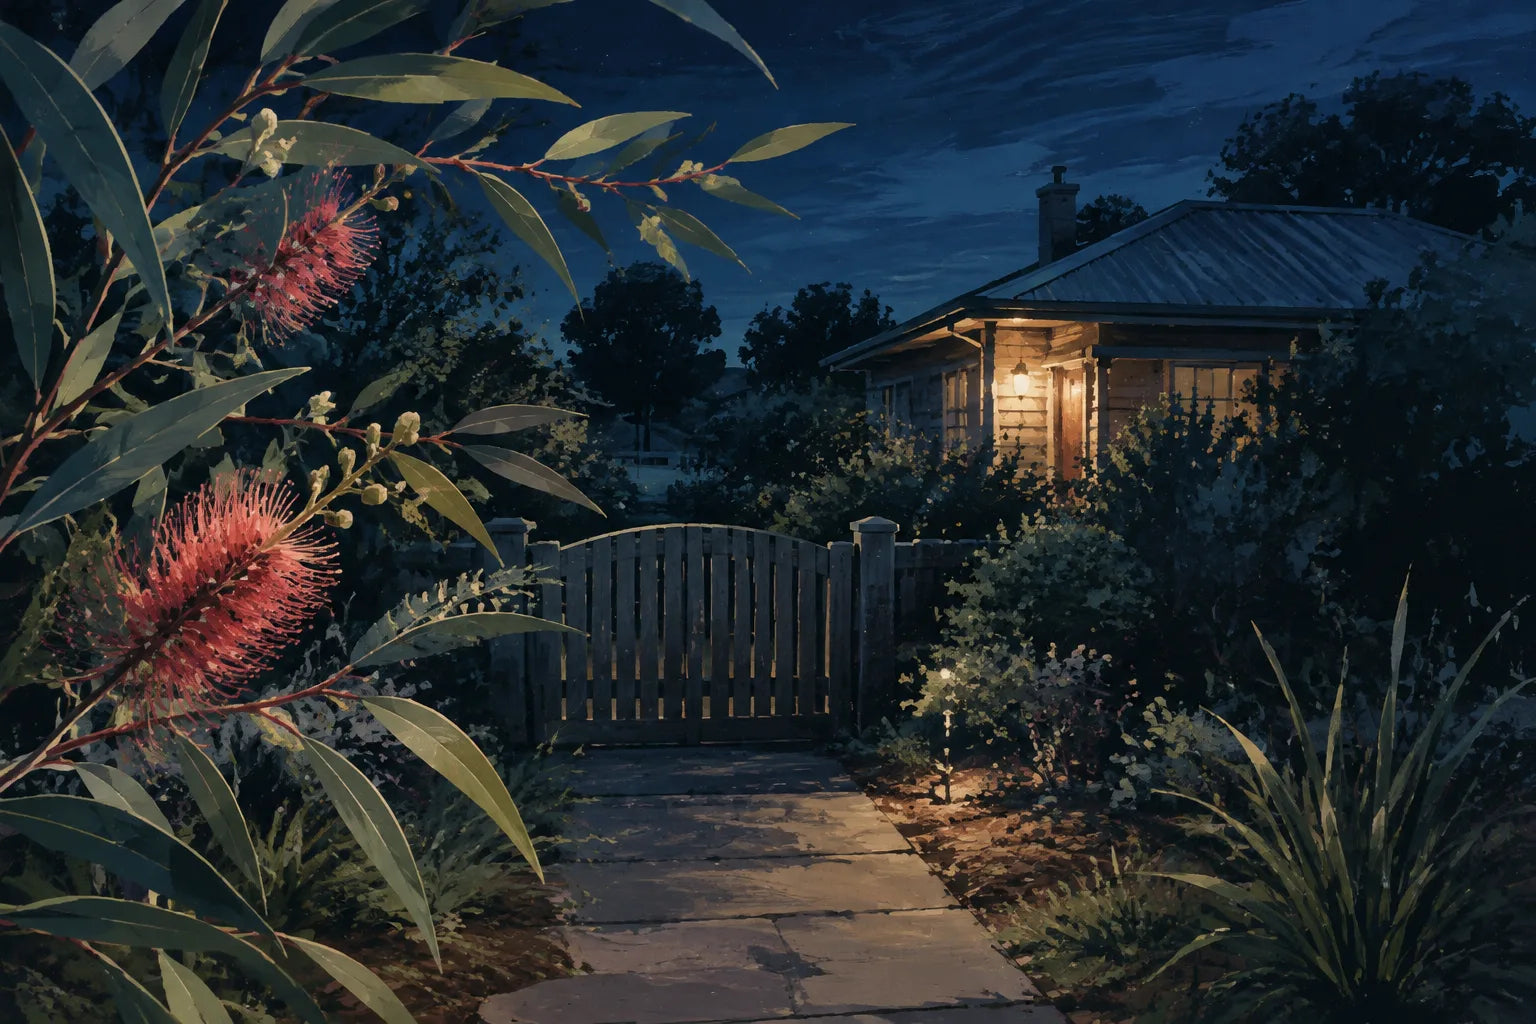
Look at what enters the view: your entry path, passing cars or a branch that waves at every breeze. Notice whether the issue is an unwanted alert, a missed visitor or an unclear picture. Those are different problems to diagnose.
Write down what triggered an unwanted event and where a visitor first appeared in a useful one. This gives you a specific problem to solve when you open your exact model’s manual or the eufy controls in Part 2.
A quiet phone is not the whole goal. You still want the events you care about to get through, so test for that too.
Take your camera for a night walk.
You do the walking. The camera can stay where it is.
Once it’s dark, walk the route you want covered at a normal pace, with the lights you usually have on. Then check the actual saved clip, not the live view. Look for the start of the event, movement through the frame and the detail you need at the important spot.
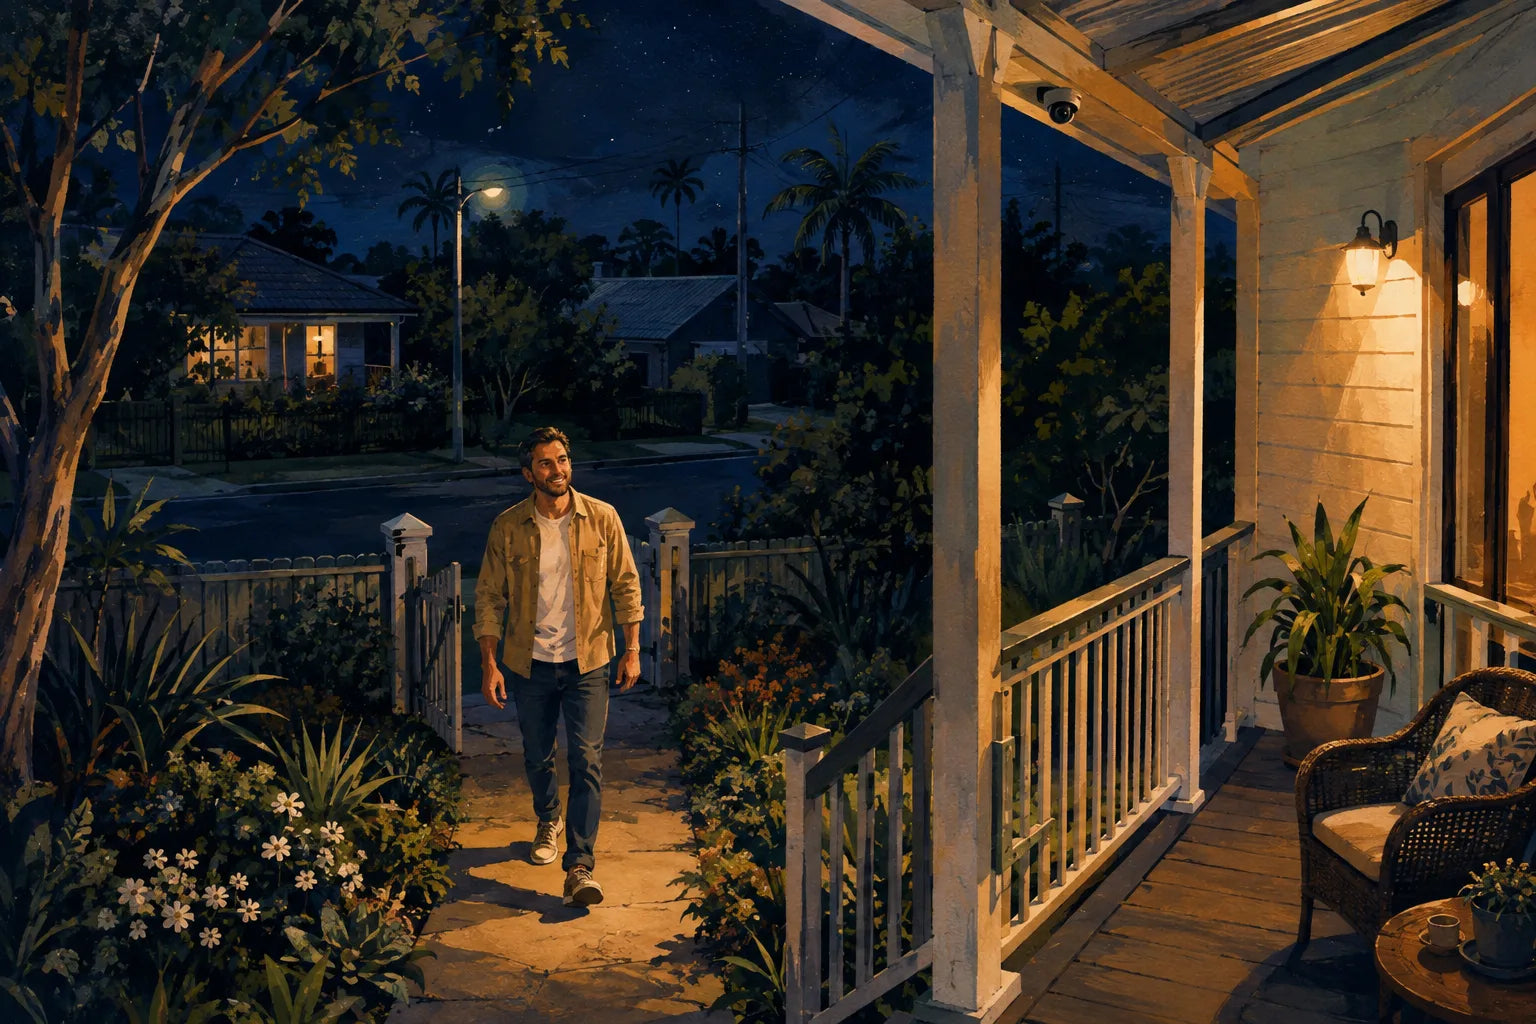
A simple route for your night walk
- Start where a visitor would first appear, such as the gate or the end of the driveway.
- Walk the route at a normal pace with the lights you usually have on.
- Pause at the spot that matters, such as the front door.
- Then replay the saved clip and check that the alert arrived.
Check the notification too. A good recording and a useful alert are two separate things. Keep this first clip and note the lighting, the route and any missed detail: it becomes your baseline for the adjustments in Part 2.
No camera promises perfect results in every situation, and this guide can’t either. What the walk gives you is better than a guess: a look at what your own setup does, in your own yard, tonight.
Your baseline checklist.
Finish with a clear description of the scene and one saved clip to compare later.
Your ticks are saved in this browser.
A couple of good questions.
Why replay the saved clip instead of trusting live view?
Live view shows what the camera sees now; replay checks whether the event was actually recorded, when the subject enters the frame and whether the important detail survives. Treat this as a test of your setup, not a promise about every model.
Should I buy a new camera first?
Start by checking the view, the settings and the saved clips from the one you have. If you can describe what the current setup misses, you’ll have a much clearer brief if you do decide to replace it.
Will more megapixels fix a blurry night image?
Not on their own. Resolution does not tell you how a moving person will look in your lighting. Compare actual recordings from your setup, and check the manufacturer’s guidance before treating resolution as the answer.
Can CamGuard help me choose?
Yes. Tell us what you want to see, where the camera will go and what gear you already have. Contact CamGuard Australia to discuss your setup.
Sources & notes
Part 1 explains general night-imaging and setup principles, drawing on the published eufy sources below. It does not prescribe app settings. Features and detection methods vary by model; Part 2 contains the eufy control paths and model-specific recommendations.
The suggestions here are editorial. We have not measured any camera’s night performance for this article, and the diagrams explain ideas rather than test results. The eight painted scenes are AI-generated editorial illustrations, not real homes, camera footage or product photographs. Illustrated cameras are generic and do not represent a model for sale. The only result that counts is the clip your own camera saves.
- eufy: night-vision camera overview
- eufy Australia: cameras through windows
- eufy Support: motion detection behind glass
- eufy Australia: cleaning outdoor cameras
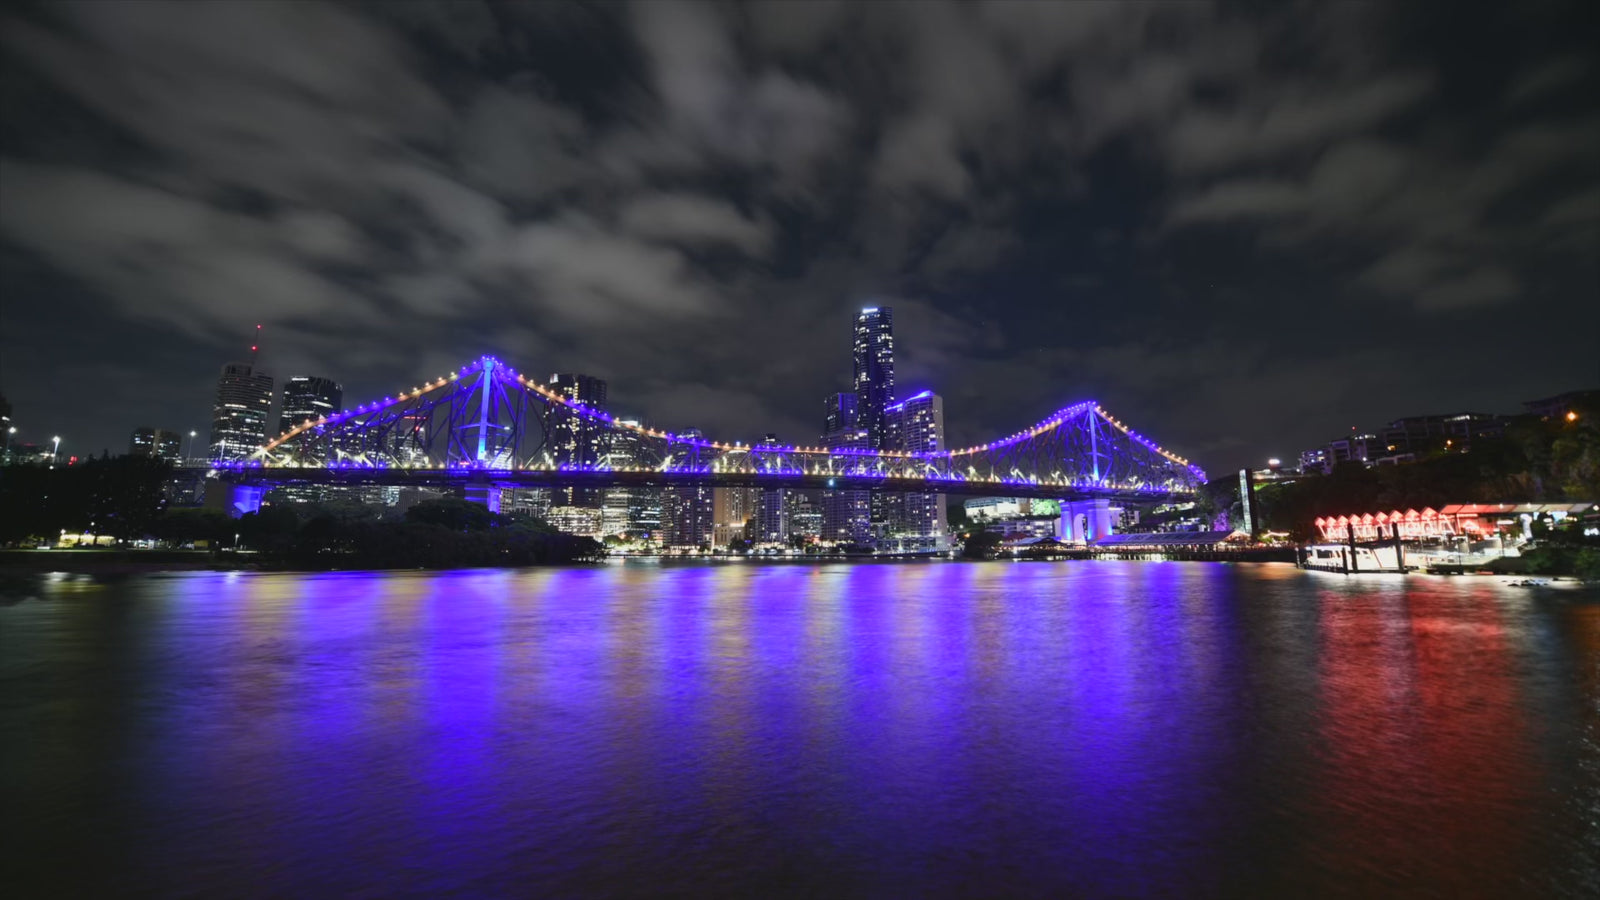
The Brisbane film is used as an editorial scene and is not sample security-camera footage.

Good gear. Clear advice. A better view of home.